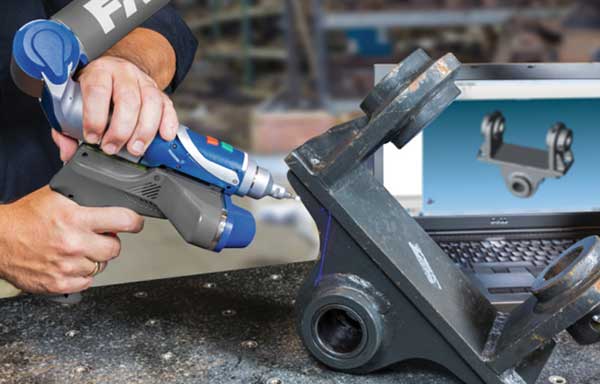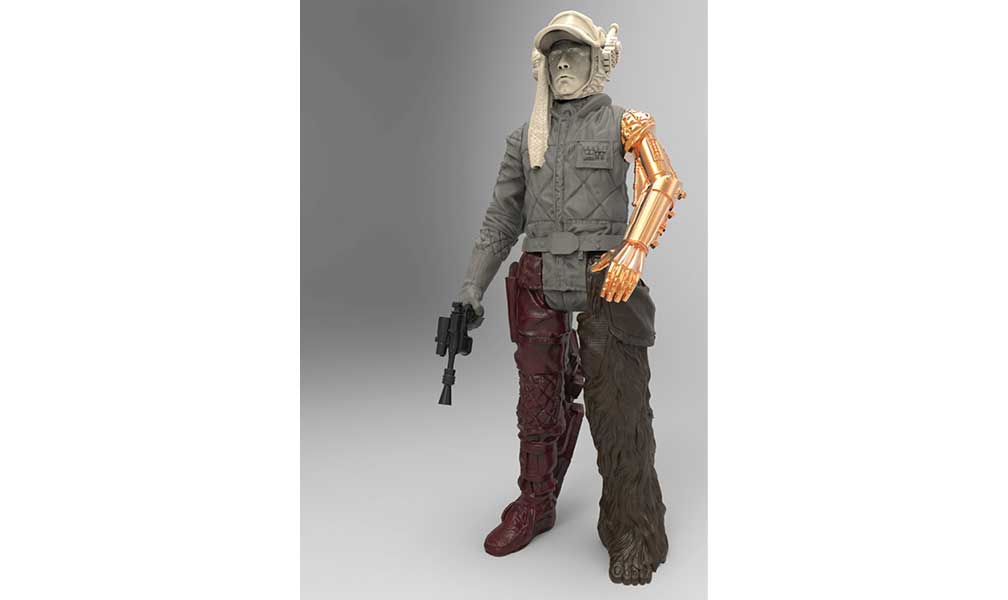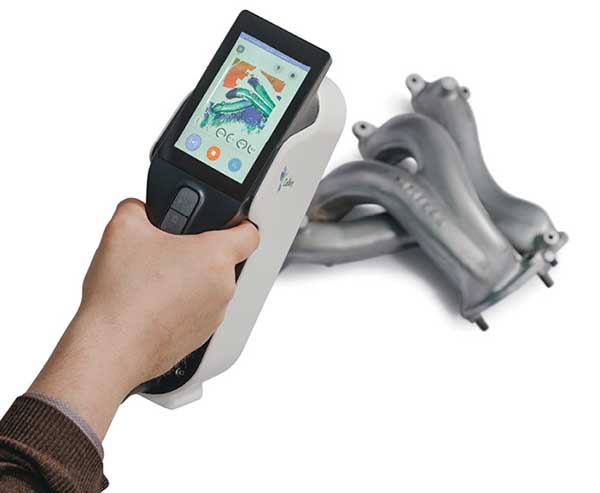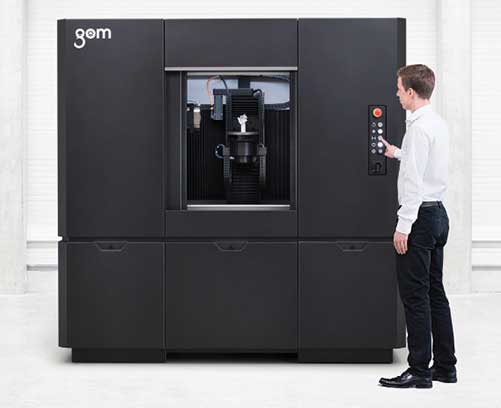
Hard probes and touch probes provide more accurate results than non-contact scanners, but at the expense of speed. Image courtesy of FARO.
Latest News
April 15, 2020
Traditionally, reverse engineering was once a colossal pain in the neck. Capturing the dimensions of a machined, cast or injection-molded component often entailed hundreds of measurements on a surface plate or coordinate measuring machine (CMM), followed by hours of tedious CAD work. And larger objects like aircraft fuselage or automobile interiors? You may have cut them into smaller sections, measured each one and digitally stitched it all together again, but it was probably easier to just start from scratch.
The good news is that all of this tedium is now obsolete. A range of easy-to-use and cost-effective scanning systems have hit the market in recent years, making the capture of dimensional data on practically any object about as tricky as snapping a family photo. Plus, a host of software tools are now available that can turn scanned data into accurate 3D models within hours or even minutes.
Armed for Success
One provider is FARO Technologies Inc., which offers numerous solutions for anyone wishing to reverse engineer a product. Perhaps the most challenging aspect of these systems, however, is deciding which one is best for your use case.
Proper system selection depends on the desired accuracy and resolution, speed requirements, the size of the objects being scanned and the available budget, says Ken Steffey, product manager for the FaroArm/ScanArm and Laser Line Probe portfolio.

“Scanning a machined part, for example, might require accuracy to within a few thousandths of an inch, whereas a car bumper or chassis component probably needs far less than that,” he says. “The advantage of our articulated arm technology is that you can get very dense point data on small parts and part features, then use a looser, faster scan for larger or less critical components.”
FARO’s ScanArm has significant reach, he adds, able to measure objects several meters or more across. It can also accommodate hard probes and touch-trigger probes like those used on CMMs, as well as several noncontact options.
One possible option, laser line scanning, works on the principle of using a camera to view a line of laser light that’s made to traverse the target workpiece. And just as one can determine a cellphone’s position by measuring the distance to nearby towers, so too can point data be collected by triangulating the camera’s relative viewpoints.
“The challenge with any method of non-contact scanning is that it’s never as accurate as hard probing on a traditional CMM,” Steffey says. “This is why we give customers the option of different probes or scanning heads, so as to cover as wide a range of applications as possible. The desire to cover a diverse application space is also why we recently introduced color scanning capabilities, which broadens the scope of materials and surfaces that can be scanned—dark and shiny plastics, for instance, and reflective surfaces.”
Then There’s Thor
For designers who don’t need the capabilities—and admittedly higher cost—of the FaroArm or similar metrology solutions, there is an alternative. Anna Zevelyov, CEO and co-founder of scanning provider Thor3D, explains that the company brought the first wireless, handheld 3D scanner to the market in 2015, and continues to expand its offerings.

“The goal of our product is a little different than that of a FaroArm,” Zevelyov says. “Not everybody needs the high accuracy and repeatability of a high-end scanner, or has the budget for it. Most of our customers want the ability to take a device into the field, or into places where an arm cannot fit. A handheld scanner like our Calibry does both, and thanks to its large field of view, [it] scans even large objects such as tractors and airplanes very quickly.”
Thor3D’s handheld scanners are adept at detecting sharp edges, black or shiny objects, and tiny details such as fur and human hair, artifacts that are traditionally very difficult to scan, she adds.
Archaeologists often use handheld scanners to document dig sites. A museum could use one to digitize a T-rex skeleton. A 3D printing or plastic-injection molding house might choose to scan a cape-clad Chris Hemsworth, shrink the resulting model to 1/10th scale, and use it to manufacture the next Thor: Ragnarok figure.
Connecting the Dots
The other piece of the scanning equation is software. FARO offers several scan-to-CAD tools, among them is the recently acquired RevEng Capture, to address “a variety of reverse engineering and design challenges across a range of industries,” according to the company.

Thor3D, on the other hand, bundles Cyborg3D MeshToCAD with its Calibry scanner, software that Zevelyov says is needed to process the massive data sets acquired by any 3D scanner into usable files for further CAD processing.
David Gill, president of nPower Software, a division of IntegrityWare Inc., notes that his company’s software works with a range of scanning equipment, handheld or otherwise.
“Scan data is often bumpy and irregular, with gaps in one area or too much information in another,” he says. “Our software smooths surfaces, matches contours and turns what would otherwise be non-intelligent bundles of points into clean meshes that can then be imported into any CAD system.”
High-quality data is vital to most reverse engineering adventures, but so are modest file sizes. Today’s scanners are so effective at gathering 3D information that the resultant files are typically massive, with gigabytes of data and millions of polygons; even with a powerful computer, it can take a great deal of time to process this amount of information. This is particularly true with organic shapes, which, thanks to advanced CAD software and 3D printing, are easier than ever before to produce, but generate truly massive files, Gill points out.
Phone a Friend
All of this advanced technology is good news to any would-be reverse engineer, but what about those folks who only have an occasional requirement and don’t want to invest time and money into a 3D scanning system?
Even for companies ready and willing to buy a 3D scanner, it should be clear by now that there is no one-size-fits-all solution, and that choosing between the dozens of companies and equipment options will be no easy task. Now what?
You may want to give Steve Young a call. As president of Exact Metrology Inc., he and his team provide a range of reverse engineering, dimensional inspection and 3D scanning services, as well as computed tomography technology able to image an entire workpiece—inside and out—in a single operation.
Sending parts out for scanning—at least initially—allows companies to thoroughly “kick the tires” before investing in their own equipment, a crucial step given the increasingly broad array of systems available.
“It’s easy to make a mistake. I just got off the phone with a gentleman who was having problems with a piece of equipment that he bought last month,” says Young. “Unfortunately, he didn’t do his homework and ended up with the wrong system. If he’d asked us to scan some parts for him or at least called us before cutting a purchase order, we could have steered him in the right direction.”
Exact Metrology also sells or rents scanning equipment, giving customers a chance to try it out before committing to a hardware purchase.
“Our offerings include Leica long-range scanning systems and portable CMMs, Hexagon measuring arms and laser scanners, Artec handheld scanners, and reverse-engineering software from Geomagic and PolyWorks,” he says. “And since we also use these products in-house for our service offerings, we’re in a somewhat unique position, in that we can evaluate everything first-hand and select the hardware and software that we feel will best benefit our customers.”
More Exact Metrology Coverage
More FARO Technologies Coverage
Subscribe to our FREE magazine, FREE email newsletters or both!
Latest News
About the Author
Kip Hanson writes about all things manufacturing. You can reach him at .(JavaScript must be enabled to view this email address).
Follow DE


